利用github+hexo搭建个人博客
参考网页:
https://pages.github.com/
https://www.jianshu.com/p/3db6a61d3782
搭建之前电脑所需安装软件:
1
2
3
| - github账号
- nodejs 安装包链接: https://nodejs.org/zh-cn/download/
mac利用brew install node@12安装后,需通过brew info node@12得到写入环境变量的命令执行并重新导入环境变量使其生效
|
1. 在本机创建github.io页面
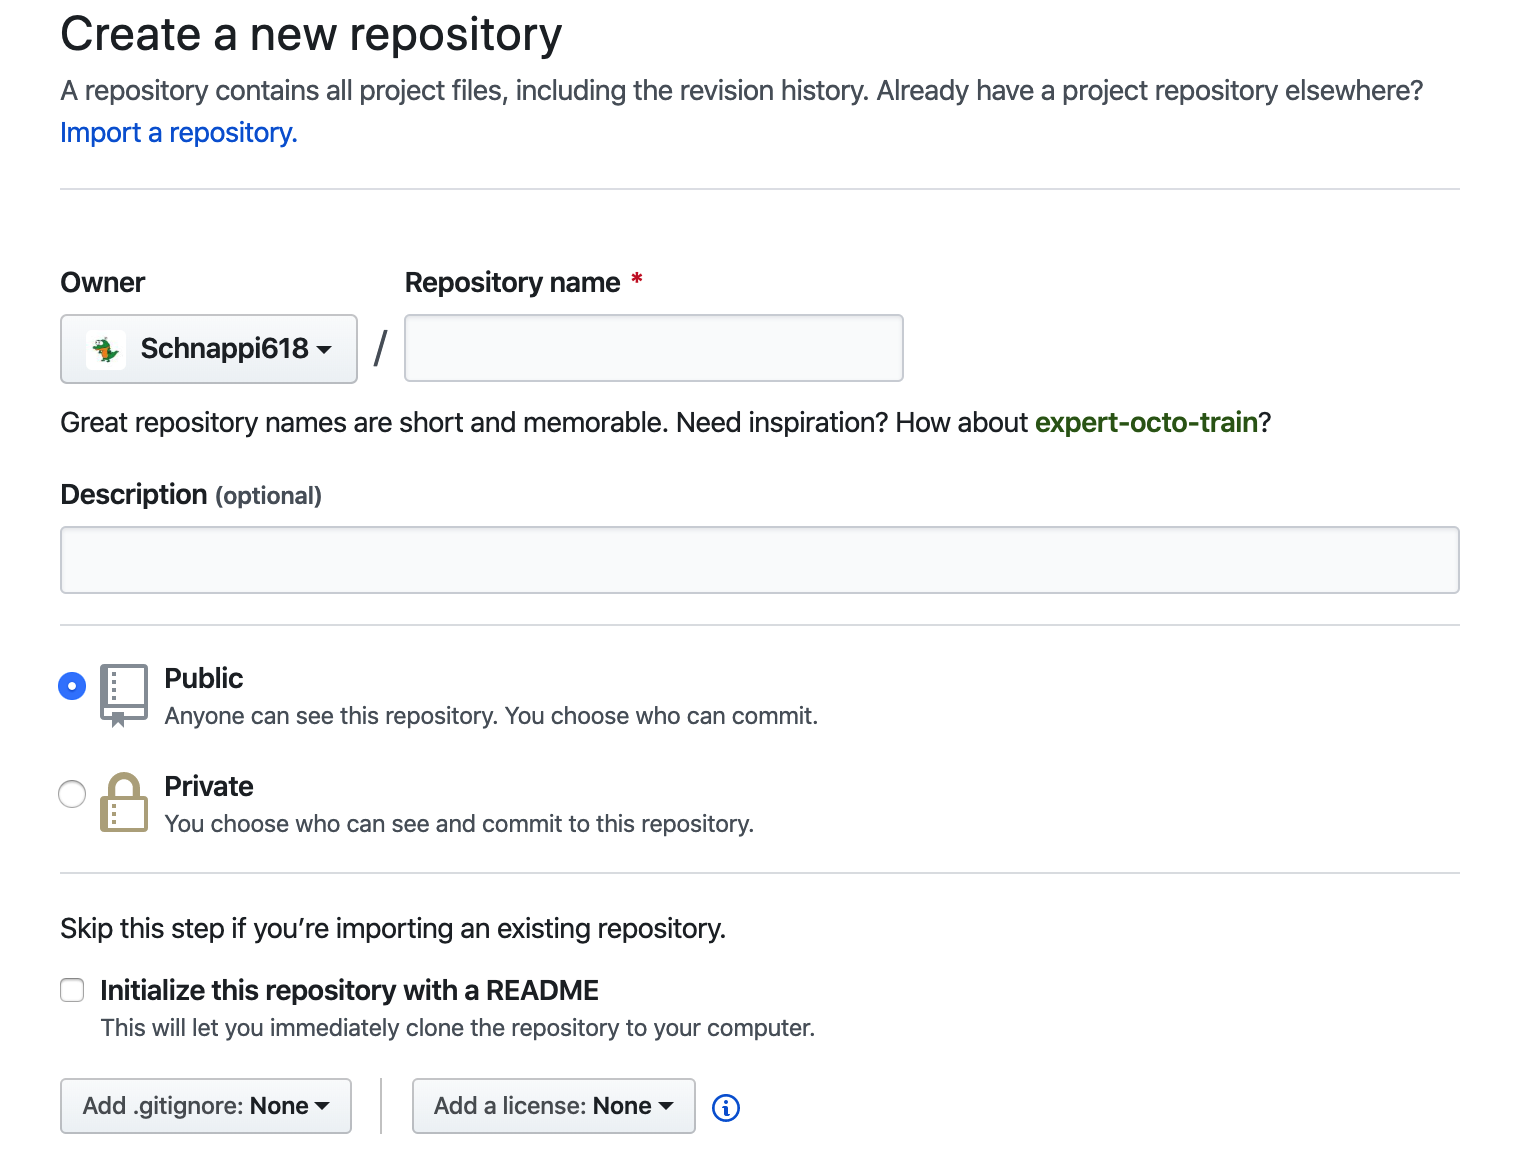
1.1、在自己的github账号上创建repository
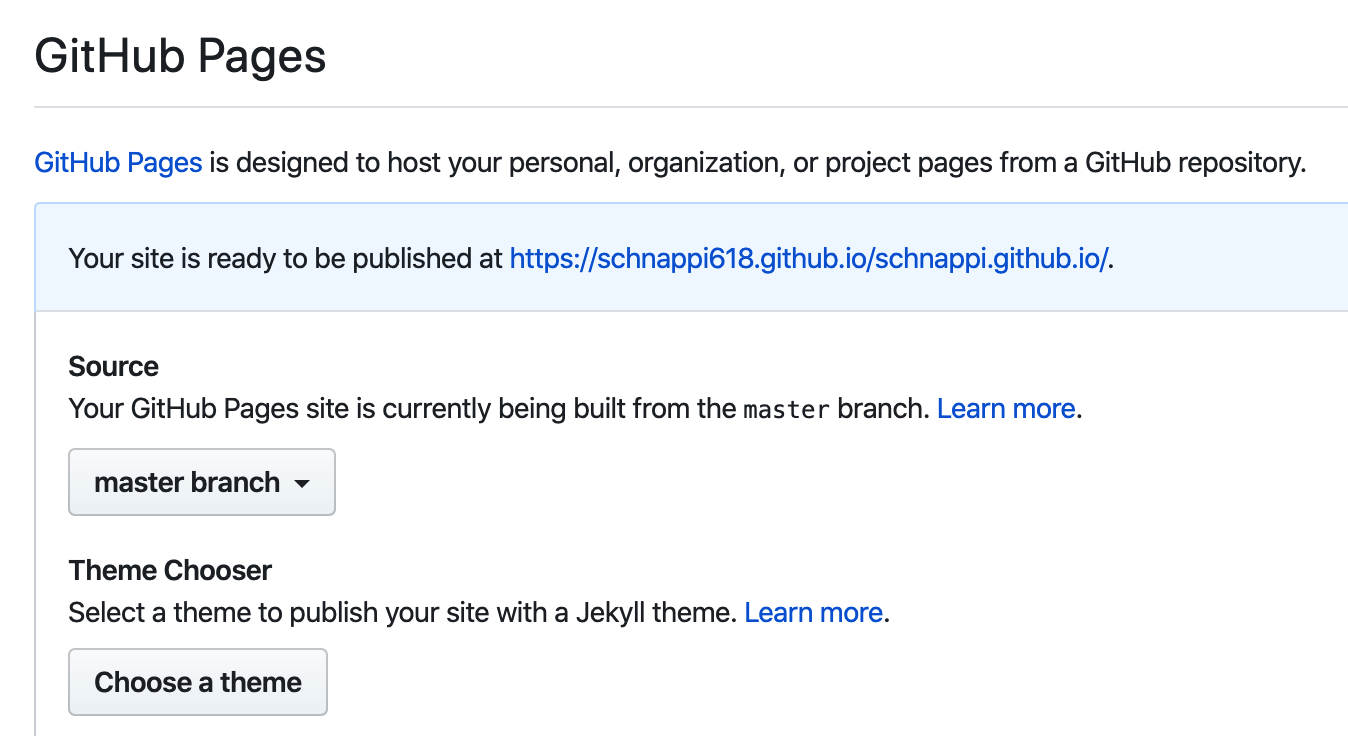
1.2、 设置github page,设置如下图所示
2. 安装hexo
1
| npm install -g hexo-cli --registry=https://registry.npm.taobao.org
|
3. 初始化页面
1
2
3
4
5
6
7
8
9
|
hexo init schnappi.github.io
npm install -g hexo-deployer-git --registry=https://registry.npm.taobao.org
npm install --save hexo-generator-index --registry=https://registry.npm.taobao.org
npm install --save hexo-generator-archive --registry=https://registry.npm.taobao.org
npm install --save hexo-generator-tag --registry=https://registry.npm.taobao.org
npm install hexo-deployer-git --save --registry=https://registry.npm.taobao.org
|
4. 修改配置文件
1
2
3
4
5
6
7
8
9
10
11
12
13
14
15
16
17
18
19
20
|
title: Hexo
subtitle: ''
description: ''
keywords:
author: schnappi
language: zh
timezone: 'Asia/Shanghai'
url: https://schnappi.github.io
deploy:
type: 'git'
repo: https://github.com/Schnappi618/schnappi618.github.io.git
branch: master
|
5. 测试
1
2
3
4
5
6
7
| # 在github目录下执行以下命令
## 生成页面
hexo gen
## 本地测试
hexo server
执行完后,访问本地http:
|

6. 部署
1
2
| # 执行以下命令进行推送
hexo clean && hexo deploy
|
执行完成后,即可通过github page地址 https://schnappi.github.io 进行访问
之后需要将修改部署上去,执行以下命令即可
1
2
| hexo gen
hexo clean && hexo deploy
|
7. 其他配置
1、修改默认主题
1
2
3
4
| 上图中显示的是hexo中默认的主题,若需要修改主题可以进入 https://hexo.io/themes 选择喜欢的主题
cd schnappi.github.io/themes
git clone https://xxxx.git
|
2、文章图片显示
1
2
3
4
5
6
7
8
| # 下载hexo支持的插入图片插件
npm install https:
# 修改配置文件_config.yml
post_asset_folder: true
# 在之后通过hexo new post [name]创建新文件时,在source/_post目录下会生成一个和name同名的目录,将需要的图片放入其中
文章中引用直接通过相对路径 name/xxx.png即可
|